🧭 Preparations for SLAM Tutorial
This section highlights the steps to follow to prepare for the SLAM tutorial during the Robotics Summer School 2024.
The official documentation can be found in the open3d_slam_advanced_rss_2024_public repo and the smb_slam page.
🔧 Setting-up
The tutorial material can be run if you have successfully followed the installation steps. Using RSS Workspace is recommended.
# build smb_slam
catkin build -c smb_msf_graph smb_slam
You have installed the important bits everything correctly if building smb_slam doesn’t throw any error.
🔧 Installing htop
To inspect computational cost of operations, lets intall the htop tool.
# Install htop
sudo apt install htop
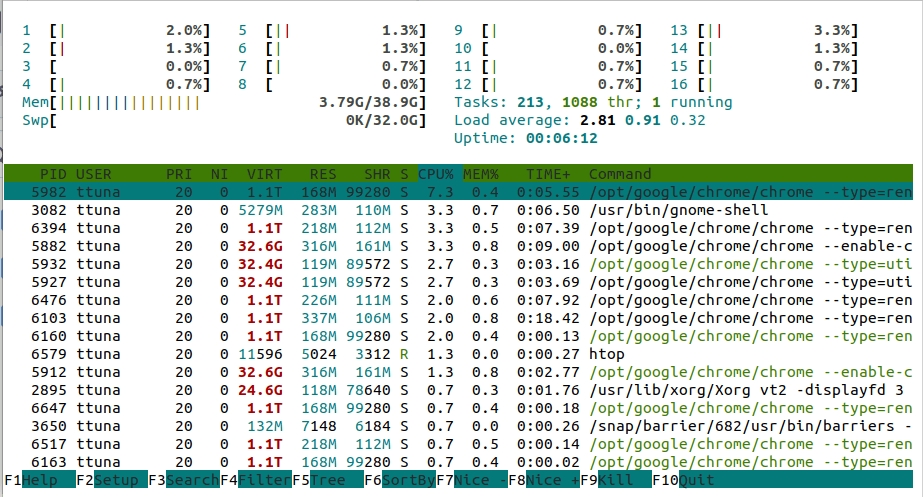
The tool can be initialized with the command htop, make sure to sort the operations by CPU usage via clickling to the CPU tab.

The CPU tab indicates the amount of threads a process allocates in terms of percentage. 100% can mean allocation of 1 thread for 100% or 2 threads of 50% but regardless equivalent compute power. If power of each thread drops (i.e. maybe you unplugged your laptop) the percentage might increase to compansate.
🔧 (Very optional but if you are a fellow SLAM enthusiast, you might enjoy this) Installing CloudCompare
CloudCompare is a tool to visualize and manipulate point clouds and 3D data in general. As it is a 3rd party tool, it is not extremely stable. However, for quick operations it is very useful. First we need to ensure we have the right tool to install CloudCompare:
# Install snap
sudo apt install snapd
after installing snap, we can have access to the version of CloudCompare in snap. Install this version via:
# Install cloudcompare
sudo snap install cloudcompare
this operation may download some data, I suggest to to try it before the tutorial. If you can’t totally fine as this is optional. If you successfully installed CloudCompare you should be able to find it via the search:

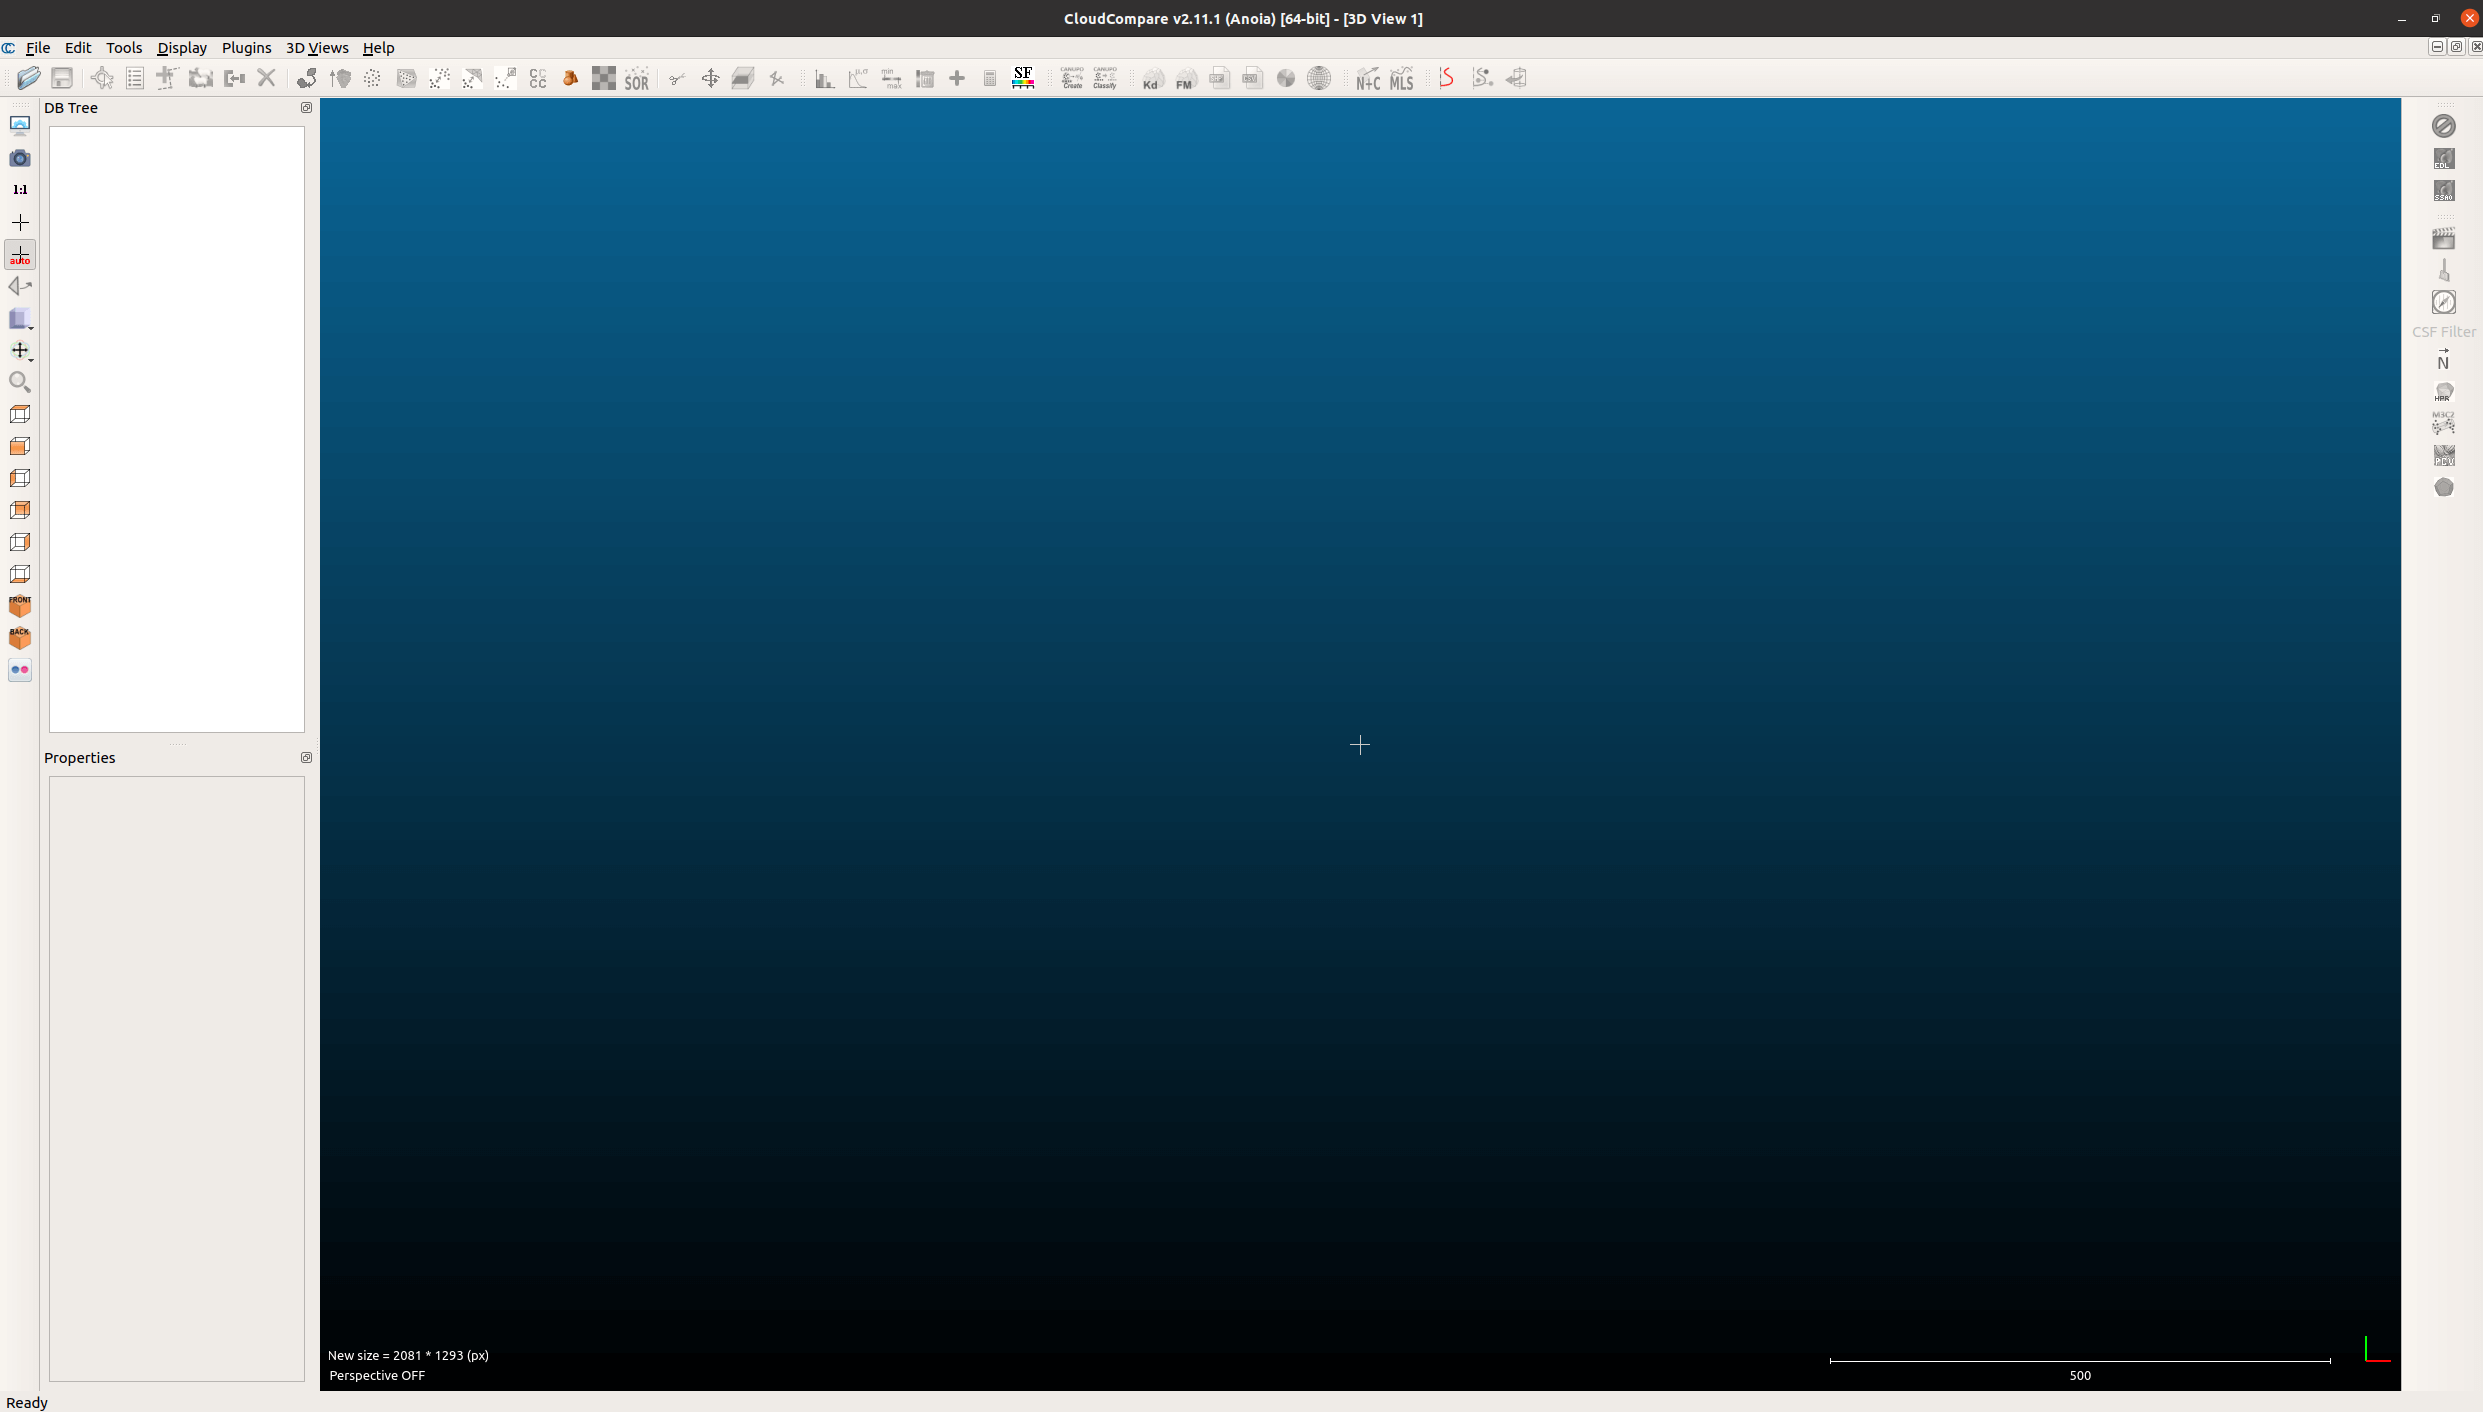
Check if everything is right by openning the regular CloudCompare (not the viewer). You should something like this:

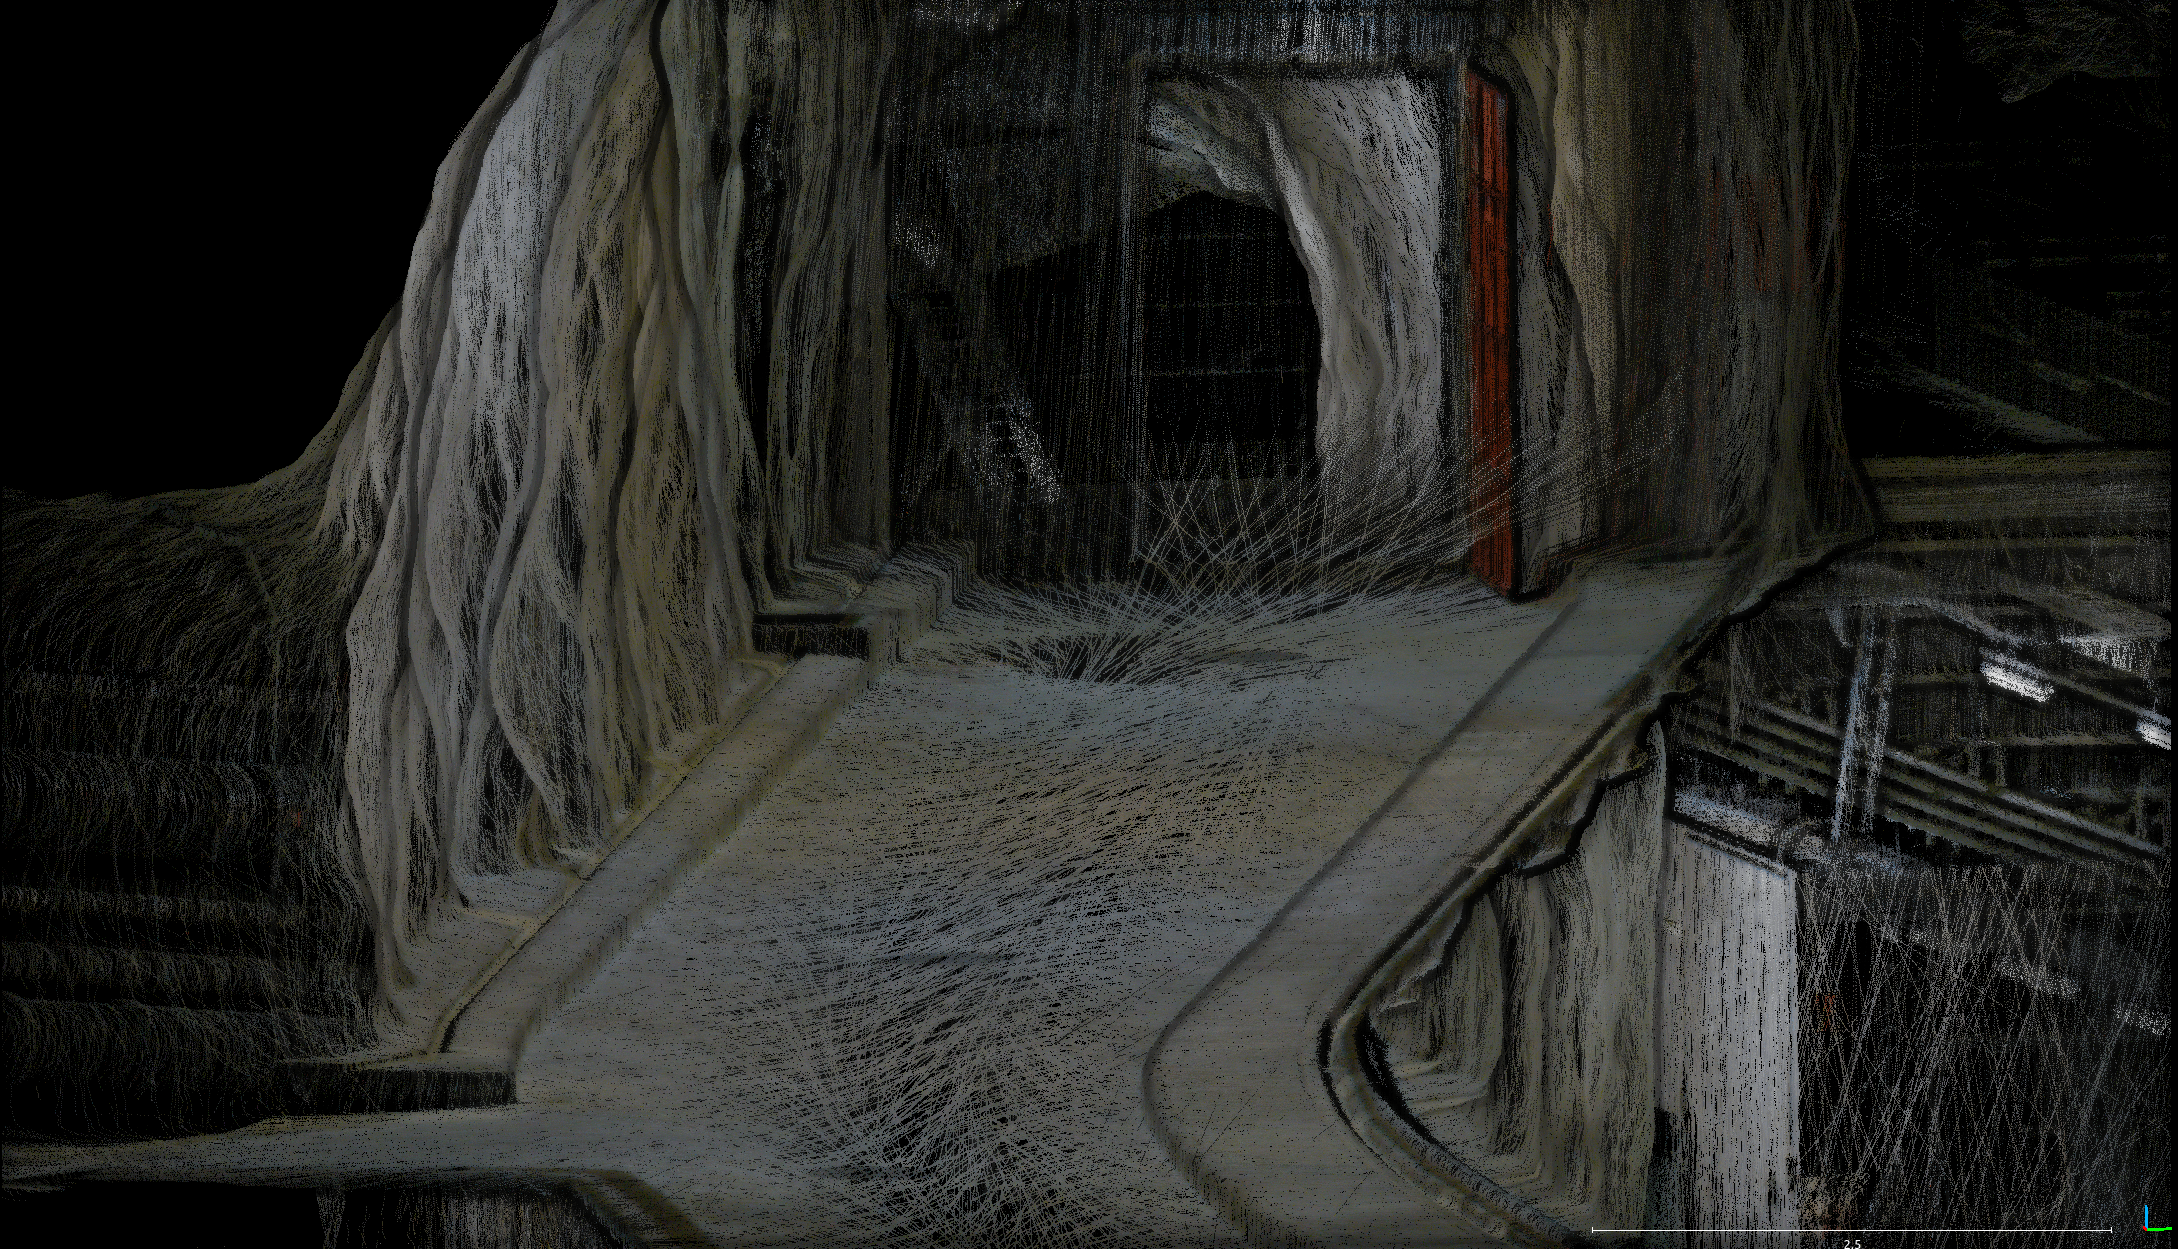
now you scan drag and drop .pcd, .ply, .e57 and many more formats and inspect the maps.
📂 Resources
The tutorial will show you how to run the system and how to judge it’s performance. As it is interactive, you don’t need to read papers about it. But if you are curious take a look.
🔍 Open3D SLAM Resources
To refer information about open3d_slam repo can be found here:
You can inspect the original Open3D library if you want to write additions to the Open3D SLAM implementation. We are using the C++ API so feel free to directly check the implementations in the source code and unit tests here.
🗃️ ROSBag
In order to follow the tutorial, you will need the following rosbag:
Furthermore, we need to put this rosbag as /open3d_slam_advanced_rss_2024_public/open3d_slam_rsl/ros/open3d_slam_ros/data/tutorial.bag. If you installed everything correctly you can locate the this directory with:
roscd open3d_slam_ros && cd data
Using RSS Workspace/ SMB Docker?
If you have downloaded the ROS bag files to your local machine and are using Mac or Windows, you can copy them into the Docker container using the docker cp command. Ensure the Docker container is running before performing these steps:
-
Find the name of the Docker container by running the following command (make sure your Docker container is running)
docker psThe output will look like this if you are using the rss_workspace:
CONTAINER ID   IMAGE                            COMMAND       CREATED         STATUS         NAMES
1234567890ab   vsc-rss_workspace-123asd-uid     "/bin/bash"   5 minutes ago   Up 5 minutes   sad_hawking
or like this if you are using the smb_docker:
CONTAINER ID   IMAGE             COMMAND       CREATED         STATUS         NAMES
1234567890ab   smb_docker        "/bin/bash"   5 minutes ago   Up 5 minutes   sad_hawking
In this example, the name of the Docker container is
sad_hawking. -
Copy the ROS bag file into the Docker container, replacing
<NAME-OF-CONTAINER>with the actual name of the Docker container and/path/to/your/tutorial.bagwith the path to the ROS bag file on your local machine:# copy the bag file from local storage to the docker container docker cp /path/to/your/tutorial.bag <NAME-OF-CONTAINER>:/workspaces/rss_workspace/src/slam/open3d_slam/open3d_slam_rsl/ros/open3d_slam_ros/data/If you are using vscode, you can try to drag and drop the rosbag into the vscode file explorer to copy it into the container. But be aware that this might take longer than
docker cp. For example, it might take a few minutes to copy a 1GB file.
and inspect the absolute path with pwd bash command.
📋 Tutorial Material
The SLAM tutorial is going to be mostly interactive and a walkthrough on importance if different aspects of the system. There is going to be 3 sub-problems we will tackle and including
- 1-) LiDAR Only Odometry and SLAM
- 2-) External Odometry based LiDAR-SLAM
- 3-) Closed Loop SE and SLAM.
- Bonus: Sequential bag replay and generated map visualization.
📋 Tutorial-1 :-1:
Think about what might go wrong in LiDAR Only case. Why would we like to give an external prior? What happens when there are limited objects in the environment? What do we expect in terms of computation?
Think: Why would we like to give an external prior? What happens when there are limited objects in the environment? What do we expect in terms of computation?
📋 Tutorial-2 :neutral_face:
Now we provided an external odometry from the T265 Intel Tracking camera (Visual-inertial Odometry).
Think: Does providing an external prior help? What do we observe in terms of smoothness? What about computation? Did we just become dependent on this odometry? Why dont we use other sources of odometry? Don’t we need to know where this odometry is coming from?
📋 Tutorial-3 :sunglasses:
We are now in a closed-loop system! There is feedback in this system , GMSF <—> O3D. The sensor fusion is done by smb_msf_graph and O3D provides the good LiDAR mapping poses. :chart_with_upwards_trend:
Think: What happens if one of the modules suffer? How does computation look like this time?
The tutorial launch files are located in /smb_common/smb_slam/launch/ directory. Which can be found by roscd smb_slam && cd launch. The tutorial files can also be adapted for RSS usage as they show common workflows.
The link for the tutorial slides will be available soon here.