📋 Frequently Asked Questions
This page covers the most frequently asked questions that arise when using the A2 simulation and working on the physical robot.
For recent and past queries, please refer to the GitHub Issues of this repository.
🗺️ How do I prepare a processed point cloud for localisation and 2D grid map creation?
Adapted from Interactive Segmentation Tool — CloudCompare Wiki
1. Download CloudCompare:
Download the appropriate version for your operating system from the CloudCompare releases page.
2. Load the point cloud:
Open CloudCompare and load the built point cloud (.pcd format) via File → Open or by dragging the file into the application.
3. Launch the segmentation tool:
Select a suitable viewpoint, then launch the tool using the  icon in the main toolbar or via Edit → Segment.
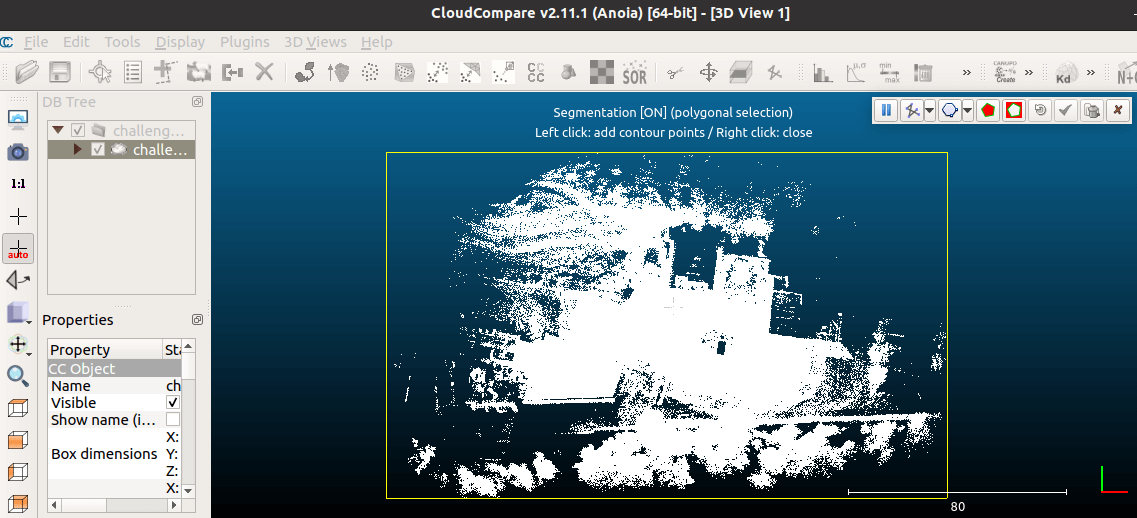
4. Define the region of interest:
Left-click to draw a contour (polygon or rectangle) around the region of interest. Right-click to close the polygon.

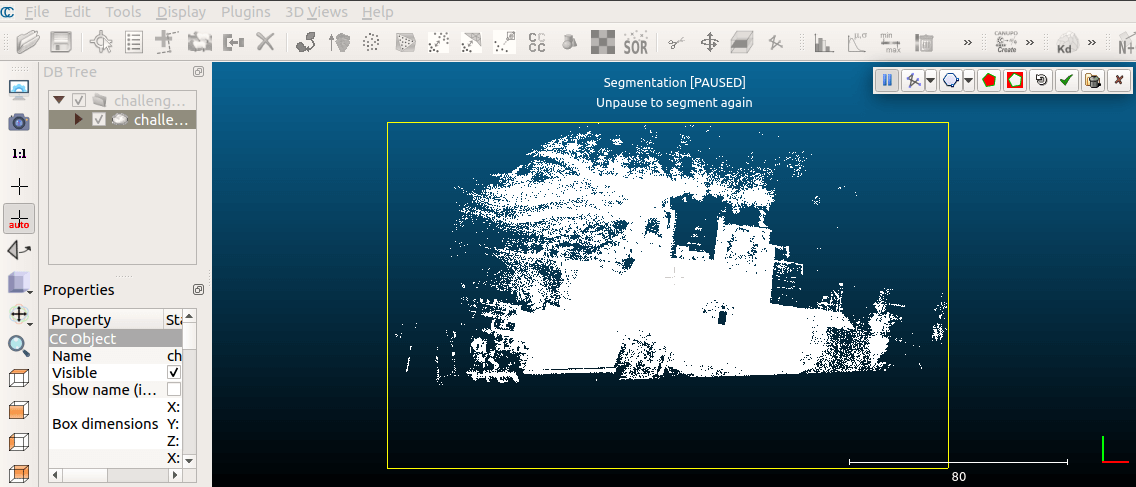
5. Apply the segmentation:
Choose whether to keep points inside ( ) or outside (
 ) the polygon. The remaining points and the polygon boundary will be removed after confirming with the check mark.
6. Export the result:
Repeat the segmentation until a clean point cloud is achieved, then export it in .pcd format (Point Cloud Library cloud).
For improved visualisation, apply a height-based colour ramp via Edit → Colors → Height Ramp.
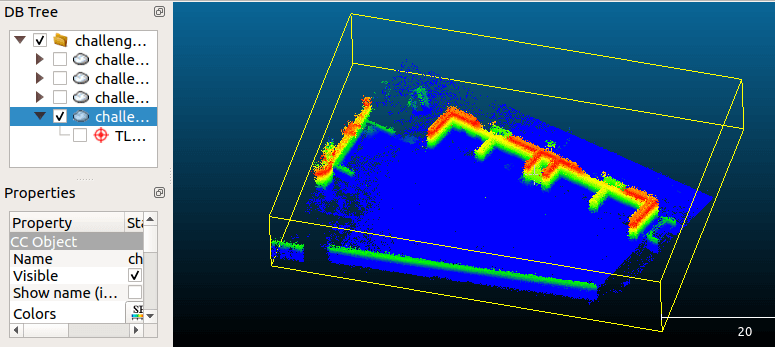
Colourised visualisation of the segmented point cloud.
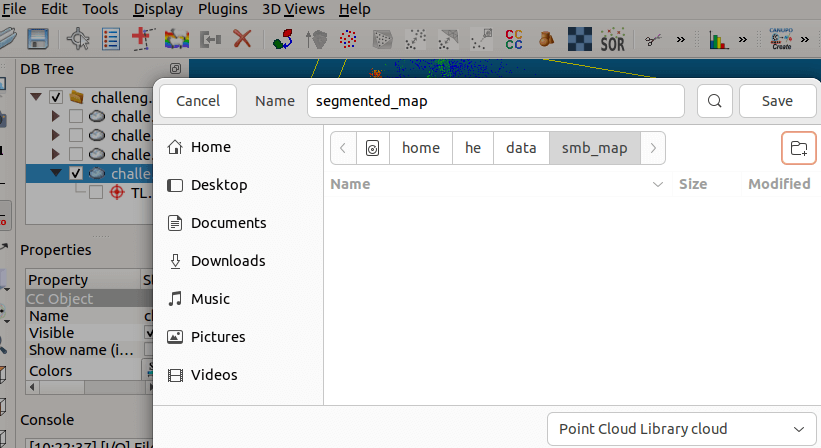
Exporting the segmented point cloud in .pcd format.